Monday, August 30, 2010

more instant downloads for sale

I just got some patterns uploaded for those that want to buy them as instant downloads.  I had a few requests that were not honored at the retail shoppes. These include the redwork sunflower pillow, the redwork angel pillow, the redwork santa pillow and all of the individual snowball blocks for those who don't want all 16.  Check the side bar or bottom if you were wanting these patterns and the quilt shoppes would not want to mail them to you!!!  If you have any trouble with them please email me and I'll get it fixed.


Mystery Monday HOW #4

Wow what a week last week at least 4 GO giveaways, nah, I didn't win.  But there are some lucky people out there who did.   Sweet Paulette can hardly drag herself away from the one she got!!!   And there's more chances this week..............keep on the lookout.  Word is that Ryan Walsh from I'm just a guy who quilts is going to have one to give away......................He said he had some exciting new to share on Monday!
After you've visted here GO! to Ryan's and chack it out.
I've been working on the baby quilt and Mystery Monday Hexagon Ornaments of the Week.
Notice on sidebar I made a blog button to grab for my blog.   Here are the ornaments for this week!

Here are all of the "HOW's " so far........... If you want to learn how to make the custom twisted cord ornament hangers go back a couple of posts to twisted cord tutorial. CLICK
 At the end of the Frosty Flakes BOW, eventually will have your choice of blue OR red ornaments along with a set Dawn Hay's blue OR red Frosty Flakes Blocks (blocks only on these not whole quilt)  if you've entered my giveaway contest to win them............WHAT? you're not entered.................go read my
100th post and then enter there. 
BUT YOU HAVE TO GO HERE TO GET THE PDF TO DOWNLOAD IF YOU WANT THE ORNAMENT PATTERN.
CLICK ON WORDS UNDER THE PICTURE TO TAKE YOU TO GOOGLE DOCS
where you can download patterns for


 Hexie 4 a & b  HOW#4 enjoy!!!!!!

And don't forget about the GO! giveaway at Ryan's

Saturday, August 28, 2010

blog buttons

The monday mystery button was my third try at trying to create my blog button for people to grab and added it to my sidebar, will it work? We'll find out!

Third time I took this photo above and added the words.  That was the hard part getting them easy enough see picture and be able to read words.


It was kind of hard. Editing the "grab the button html "code I found from various generous bloggers who posted about how to add a button was actually the easiest part. Creating the button and getting the words and picture on the button big enough to see and yet have the button small was kind of tricky. Oh well, we'll see how it goes.................. if you want it and it doesn't work right, let me know. Have a good one, I "have"(lol) to go stitch.

new note, We've been practicing making blog buttons for Cyndi N ..........right at moment, it's only a link back to her page. by tomorrow a new blog button for her., hopefully!?

she's chose this but we, (I) had issues with a
black background showing up,
see below 


 so we tried to modify it to this.....


Only in a hurry to get it back to her, I forgot to add white to the fill of the outside frame and it was set to "no fill so 
 we got this...................
She's going to use it for now, Sorry Cyndi,  we can try again whenever you want.  At least you and I both learned some new computer skills!!


Thursday, August 26, 2010

my version of frosty flakes

These are Dawn  Hay's patterns,
 my examples.....................here's the one I did tonight.  Frosty Flake block # 4.

here's my version of #4............

here's all four

if you want to make these, her button link is on my side bar.

Tuesday, August 24, 2010

spoonflower freebie

sorry no image

Have you seen SPOONLOWER'S latest post, a free swatch if you order it  noon EST thur 8/26 to Noon EST Friday. 
click on SPOONFLOWER to check it out.  Cool Stuff............I have been fascinated with the idea of custom fabric for a long time.  home page is here....I  vote for at their fabrics of the week contests all the time!  Haven't ordered any fabric yet but will!!


http://blog.spoonflower.com/2010/08/free-swatches-for-all.html

pattern tester & a GO!

As many times as I wish I had a couple of people testing my patterns, I've often wished I was a pattern tester.  I always like trying new things.....doesn't everyone?...........and speaking of new things.....
The lovely Ms Heather from a la mode fabric and the fantastically generous people at AccuQuilt are giving away yet another GO! cutter and 3 dies.  I still want one so here's another chance for us to win one!
Hop over to Heather's to check our her black & white version, I'm thinking the regular colors clashed with her background, lol!  GO! NOW! a la mode fabrics  Then hop over to AccuQuilt, I just noticed they are having a drawing for 2- $250 shopping sprees if you sign up for emails. 
Go now for more chances!!!!

Monday, August 23, 2010

more on twisted cord

Yesterday as I was trying to get the tutorial on how to make twisted cord ready, I kept thinking I was missing something ........... it was something you could do with your twisted cord besides drawstrings and ornament hangers................It wasn't until Claire commented that she still had hers on her scissors that I realized what it was that I forgot.    a scissors fob of sorts.  now keep in mid this is floss and will not last forever but for awhile it lasts makes a cute cord for your scissors

Either add some beads to the end to be knotted or sew it inside a cute pincushion. The felt flower below is ugly not cute  I know.  But I did not have to get up to get anything to make it , it was in reach and it served my purpose for the meeting demo.  I forgot to insert the knot end inside my last seam so I quickly added an ugly flower to boot to cover the knot.   This pincushion is called a Biscornu. a multi sided pincushon .

( That night I also taught them how to make a BISCORNU pincushion.)
more on those at bottom of post, and for those who love counted cross stitch and have never seen or heard of one .............oh my are you in for a treat...............check the links I found below or ..google it,  the images and patterns are phenomenol -spelled wrong)  

You can add your twisted cord practice cord it to your little scissors that always seem to fall off the tabl.e off the couch, in the car, in your tote bag, etc.  See below ro see out easy it is!

to start pull cord through the handle then stick your finger in the loop opposite from knot, 
open up the folded center.

put the loop over the scssors

work it all the way down the scissors and then..........
€€
just carefully slide all the way onto the scissors.

pull it tight

TAH DA!!!!  twisted cord scissor fob. now go make yours!

.Hope you enjoyed my quickie tutorials on making cords.
  For biscornu pincushions, the biscornu tutorial I found was on a blog from rissa's pieces and that this was where I got this link : http://www.prettyimpressivestuff.com/biscornu.htm

Also at the site below, she has patterns, some free cross stitch ones for biscornu,
some inexpensive, large collection.   
and there are a lot more places if you are truly interested. just type
"biscornu patterns" in the search area of google, bing, etc.

Monday Mystery "HOW"


MONDAY MYSTERY PROJECT  - "HOW"
MY HEXAGONS ORNAMENTS OF THE WEEK
3-A

3-B

CLICK FOR A LINK TO GOOGLE DOCS FOR A PRINTABLE PATTERN.

HAVE FUN AND IF YOU MISSED MY PREVIOUS POST IT WAS ABOUT HOW TO MAKE TWISTED CORD.  YOU MAY WANT TO CHECK IT OUT!.


Sunday, August 22, 2010

Twisted Cord tutorial


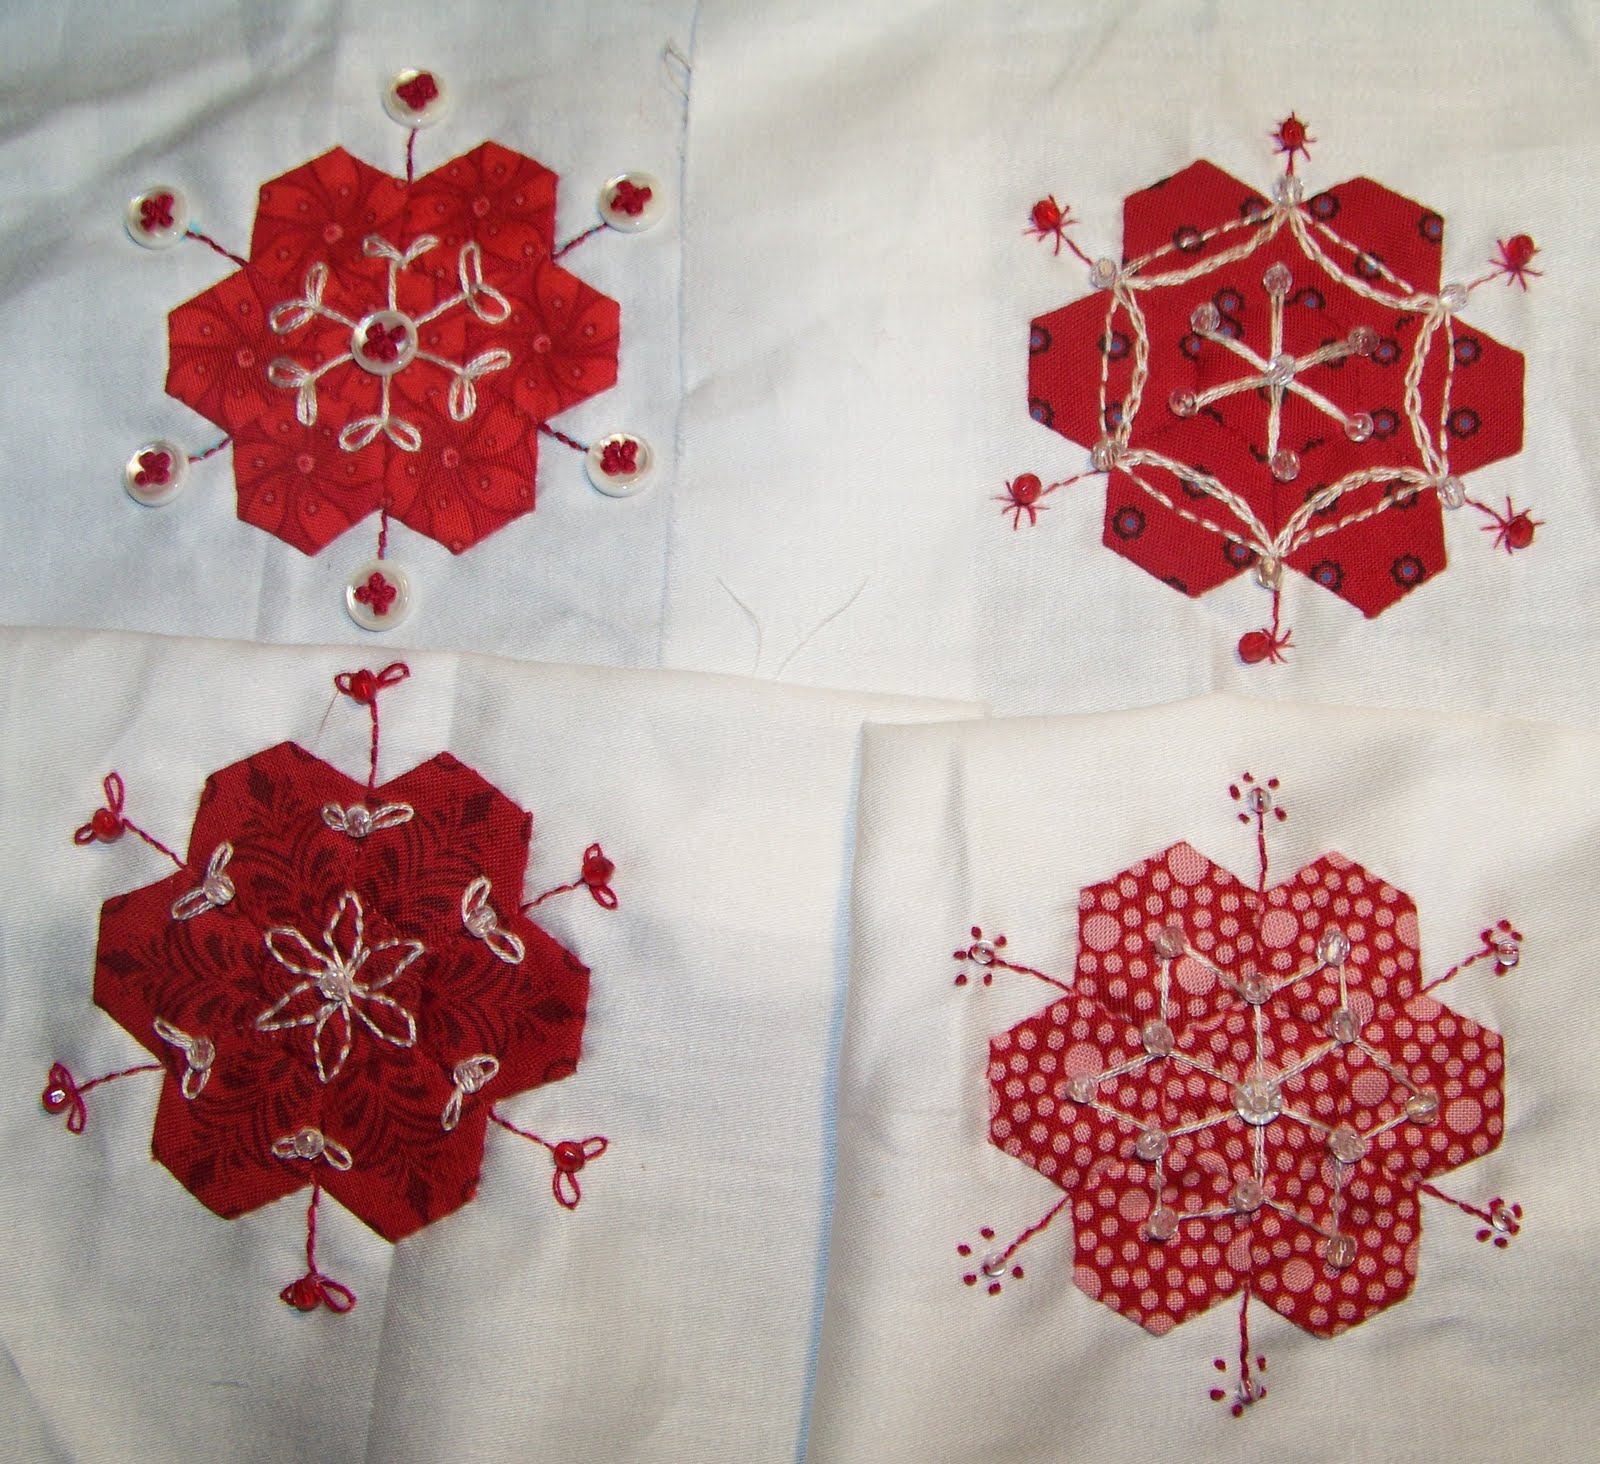
These are some cords that the chicks made when I demo'd it at our quiltin' chicks group meeting.
The ones above are made with 2 skeins of DMC embroidery floss (are STYLE 2).  What I am going to show you as my tutorial was made from 2 pcs- one of each color of 6-strand floss, approx 25" long.  Makes one long enough for an ornament hanger. approx 9-10 ")
Living out in the middle of rural america and 30 or miles from any city with more than a quick mart or mini grocery, you don't always have what you need on hand.  You do learn to have things on hand but this comes in handy when you need a specialty cord and may not have one.  My aunt showed me this years (decades, lol!) ago so it's nothing new, but many of you may not be aware of how easy it is...........is is difficult to photograph by yourself so hopefully I can muddle through.  Where is GD#1 when you need her?  (today she is at her other grandma's)

You can make them all one color or multi colored, I'll show you examples later of mixing colors and the results in cord style.  It's a small version of how some types of rope are made.  You can do this with most anything..........what I learned on was knitting worsted to make a drawstring for baby sweater I made.  Yes, I can knit and crochet too but rarely do it anymore.  
This is what you will end up with.  For those who need to know, colors are DMC 598 and 3768.
Ignore my poor cut and press board...........its my 3rd one and has been loved to death.  The center is about gone, good thing I usually don't need the ruler marks.  My first one got so soft in the center I thought I was going to cut through it.  But I love that I can flip it over to the pressing side and back.  Don't know what I would do if they quit making them.

this is where it starts.

tie and overhand knot tying the two ends together, do this with both pieces.

Then lay them with knots at opposite ends, loops towards each other.  You ane going to put one loop inside the other, then bring the loop up and over the knotted end of the opposite color.  Pull slowly so that knot ends up semi taight in the middle not off to one side.  Theses 3 steps are necessary for what I am going to call STYLE 1. Later I will discuss other color syle options. 


Now if I am making small ones I put the knotted end of one over my finger then slip the other end over a pencil, pen, crochet hook. anything long snd smooth.

Grab threads between your fingers and twist the pen like a propellor.  Twist a lot, gently distributing twists by running your fingers down the twists along the whole lentgh. Be careful not to let the twisty part to not get in knots.  Twist until the the thread is fairly tight on your finger (I usually move it up to the top of my finger as it gets taut, it will be taut on the pen too. If you think it's tight,  it may not be twisted ehough, to test.......

carefully grab the knotted center and let the 2 ends twist around themselves..holding the two ends   If it won't make a nice twist the full length after distrubuting,  let go of the center knot, and open up your hands with the two ends and twist some more.

eventually it will look like this.  i put the end on my finger on the pen

  If it looks like a nice twist tie an overhand knot over all strands working it to end,
YOU MUST TIE A KNOT IN THIS END TO KEEP IT FROM UNTWISTING. 
sew it on to ornament.

Started with 25" pieces, my cord ended up being a litle over 9" long.

Below are other color options and ideas,  I think in general( in general, don't hold me to it) that whatever length you start with, you end up with a twisted cord about 1/3 -1/2 of original length.  depends on how tight your twist is and the diameter of string, floss, yarn, etc.


Top is STYLE 1 Using 2 strands 25" ea knotted in middle ends up about 9"
Center is also STYLE 1 - 2 color 2 skeins folded in 4ths(4 strands 72"knotted in middle like above) ends up being about 30 "  Colors are DMC 333 purple and 996 blue.
Bottom is STYLE 2-gives a more tie dye effect and can be made with more than 2 colors or use this version if you only want to use one color. Is also fatter because I folded the skeins into 8ths (8pc -36" tied side by side) done =about 15".  Colors are DMC 550 reddish purple and 996 blue.'
You start out differently making one of STYLE 2.  All strands are tied side by and not knotted opposite from each other in the middle. 

 So after you twist this style there's not the center knot, so you have to bring your two hands together carefully keep things taut sliding your finger down till you find the fold in center. I used my knee to hold it while I took a picture.
On longer versions, it's real easy to under twist or over twist.  Just play with more or less twists until you get it right, you'll get a feel for it and adjusting the twists up and down the length.  For longer versions too I use a helping hand to hold the other end, or my board and scissors if no one else is around. 
 lol!

Just don't forget to tie the ends you had over the pen or your fingers together with an over hand knot.

Paulette's got a GO! to giveaway

You need to hop over to Paulette's Sweet Pea Creations.  If you have one or even if you don't you need to check out her GO! tutorial, look what she did in no time! It is a great informative and picture filled tutorial.  .  Things I never knew you could do with the AccuQuilt GO! cutter, FANTASTIC!!.  I you don't have one you go to Paulette's for a chance to have your own GO! cutter.   I want one, don't you???.  Am adding all my change to a jar until I get one, loose 1's and silver change adds up fast!!!!!.  Chances are slim that I'll win one.........but somebody's got to win.  Look all the the goodies you can also buy.............and there's even more, MORE DIES MORE PATTERNS, MORE MORE MORE.  Go and check things out at AccuQuilt
later come back am going to post a tutorial about making you own twisted cord
GOOD LUCK AND HAVE FUN AT PAULETTE'S!!!
Thank you Accu Quilt for such a GREAT PRODUCT and a chances to win one!!!!!


more sewing

We did NO canning on Saturday, yea!!! First time in about 3 weeks, but back at it today. 
This is the back for a special baby quilt I'm working on for my daugters' friend.  It's very large as far as baby quilts go, but I like big baby quilts.  This one will end up 55x55.  I guess it now it will be considered a two sided quilt.  Hope the expectant mom likes it!!

Below is the front that I showed in process the other day.  I was oirginally thinkg about making 16 blocks, until I started thinking that would be just too large. so 9 it is.


Below is my fist try, but it has several problems,  I fixed 2 of the 3.  I thought the weight of the dark frame was too much, too dark and

the lack of discipline..............in my sewing today caused this................
Usually a beginners mistake. Now, I know better than to just sew borders on without measuring, but arrogance made me think I could. So I got waves of borders. They would have never ever laid flat.  They had to be removed.  ALWAYS measure across the middle for each border!

Here's cami (GD#3) she's been "helping" me sew, sitting on my lap while I sew, guiding the fabric.  Then she's also been sorting and the resorting her stack of fabrics.  She's also been picking up every scrap bigger than an inch to keep as her "carbidy"(?) (it's some word she made up) Not quite what it even means but she "pays" for fabric with it, but on the other hand, I had to help her make a carbidy list (which amounted to a grocery list of food)  we aslo read some of my favorite books by Dr Suess, easiest one fish, two fish, red fish, blue fish.


back to sewing..................


 I cut the borders, made the dark brown one skinnier. Originally I thought I should have removed it too, (I thought it was too dark) but now that it is skinnier it's not too bad.  Here's a photo of them together..

and if course someone else had to get her nose in front of the camera again.

 complete with the family dimples!
Hammy Cami!

This morning I am working on HOW ornaments and more Frosty Flakes and then there's this,,,,,,,,

It was delivered the other day.  It is filled with freshly washed Crown Royal Bags..............and no I did not drink any of it, I don't think the person who sent them did either.  She happens to own a bar,  is getting married and wants a King size quilt made fom these.  So I pulled up EQ and gave her several ideas aong with fabric yardages.   I sent her about 20 here are a few.


 Not sure which she picked or what fabric she has chosen...... will be a surprise in the mean time, lots of unsewing.
I cut up one to see what I would get, about 120 more to go.  The first quilt she wanted took about 360, yikes,  glad she did not have enough bags!!!!

but this wll get me through anything....


I'm going to go get one and do some small things and not think about this huge purple thing until later!
Enjoy your day and come back tomorrow for Monday Mystery HOW!